Create a custom shape mask with Python & Pillow
As with many other things, Python is pretty good for programmatic image editing. This is in large part thanks to the Pillow library. Creating an image from scratch to paste a couple layers on top, or apply some filters is easily accomplished with a few lines of code.
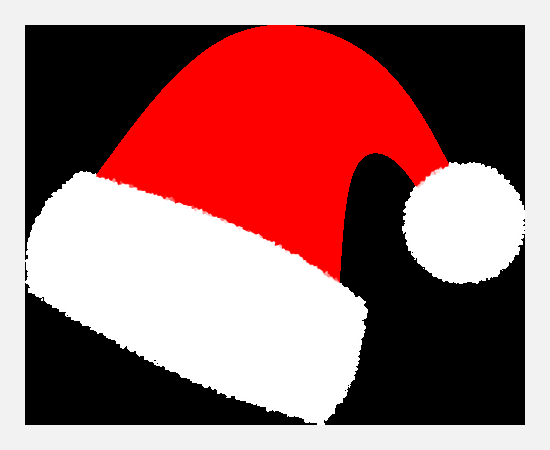
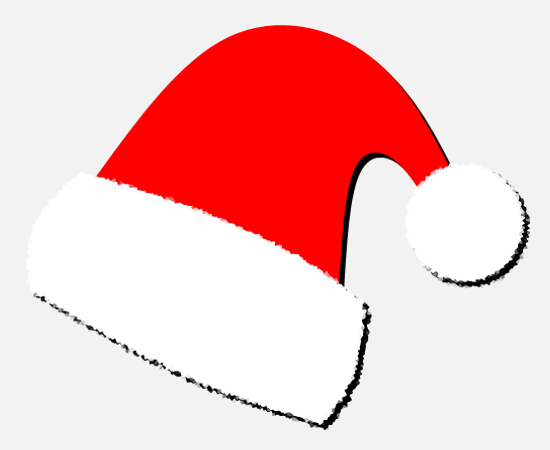
Today, I will show you a short script that creates custom-shape masks. We’ll load a Santa hat without background and add one to it, along with a shadow in less than 20 lines of code!
For the original Santa hat image, please find it here.
If you’re already familiar with Pillow, then this code will look simple to you, and even if this is your first time coming across this library, I think the comments in the code will suffice. But still, let me highlight the most important bits.
On line 8, it is important to create that black rectangle that will become the mask. It must be of the same size/dimensions as the original image and it will be cropped later to the desired shape, so don’t worry about its original shape.
Then, lines 15 and 17 add the shadow and the Santa hat, respectively, as two new layers of the image being created with the script. When adding the shadow, that mask=santa_hat argument does all the magic, because it transforms the rectangle into the same shape as the hat. Of course, it is essential that the original image has a transparent background, otherwise nothing happens.
When pasting the hat itself on line 17, it also requires the mask=santa_hat argument so Pillow keeps the transparent background, i.e., pastes only the hat and not the hat and fills the hat’s background…


And that’s it! Now you know how to create a custom-shape mask based on another image. I thought this shadow example could be a useful demo, but of course this can be used for many other scenarios. As long as the image you want to custom-shape has the same dimensions of your mask, you should be good to go!
Note for your future applications of this technique: if you have an image to be custom-shaped instead of a solid rectangle, then call the PIL.mageOps.fit function to resize the image to the mask’s dimensions before calling paste.

