Making a Flutter Todo App from Scratch Part 1
Link to Part 2.
I recently started using flutter after years of telling myself that one day I’ll start making mobile apps! Well, I finally made one, although it’s just a todo app 😅, here’s a quick peek.

The primary motivation came from Kalle Hallden’s YouTube channel, and from there I went to the flutter website to try it. I’ve tried android development before, but was never able to really push the boundary of tutorials to make something workable. I found it faster to build in flutter for some reason.
As you’ll see, it’s not just a single file, but a bunch of files that flutter generates for you to work and produce your output (an app in this case). You don’t have to worry about all the verbosity, just write your code in the main file and go from there. Let’s cover some basic steps in this post.
Background for Flutter
- Dart programming language — they say it’s easier if you know Java or any object oriented language, but I don’t know Java, I can only write public static void main 😆. However I do know variables and classes and all the usual stuff that a language offers, so the dart language tour and flutter codelabs will help you to pick up what you need, rest you can discard if it’s not needed, learn it lazily.
- Android Studio / Visual Studio Code — this is where you write your dart code to make those cool apps!
- That’s it! Let’s get cracking… Let’s try and make the initial skeleton in this post, regardless of how good / bad it looks, let’s just make operational.
Architecture of the Todo App
- If you have seen any flutter videos or tutorials, you will not miss hearing “in flutter everything is a widget”, well that’s very true, but it does not help a programmer who is just starting from scratch. To a beginner it sounds as if you can align a bunch of widgets and the app would work on its own. There is always the boilerplate code which forms the structure of the app, the loops, the conditions, classes, states, etc. I went through the phase of thinking “if everything is widget, why don’t I understand this”!!.
- But what is a Widget, you might ask? Look at the following GIF, they are really programmatic containers (boxes of code) of different kinds which do some special task. And the best thing, as point 1 says, is you can nest them in one another to make incrementally new stuff, our Todo app (see image below) is essentially nested widgets, don’t worry about the name of widgets, we’ll cover that later, what you are seeing is a widget inside a widget inside a widget inside a widget! No one tells you that in any of the tutorials, it’s all this high-sounding stuff that you don’t want / need to know, when starting out.

Todo User Story
As a relatively simple Todo app, we are trying to achieve the following, this is our user story, and this take a lot of influence from Watch & Code. Note, there is no sequence in which we’ll make this app and there’d be a lot of better and efficient ways of making this, but this is how I understood it.
- I should be able to add a Todo
- I should be able to delete a Todo
- I should be able to edit a Todo
- I should be able to mark a Todo as complete
- I should be able to prioritize my Todo (move them up or down)
IDE Setup (on Windows using Visual Studio Code)
- Download and setup flutter as per Google’s flutter page.
- Make sure you run flutter doctor as the page suggests, this will help you resolve any problems with installation.
- You don’t need to install Android Studio, you can work just fine with Visual Studio Code. However if you need to you, you’ll have to follow the Android installation guidelines which are also on the same page.
- Install flutter and dart extensions for VS Code, just get Dart and Flutter in the screenshot below.
- If you just want to run the app and see for yourself, the code is here. Just pull it using GIT and run in VS code or Android Studio.

Let’s Code
Once you have the IDE setup, we can create a new project.
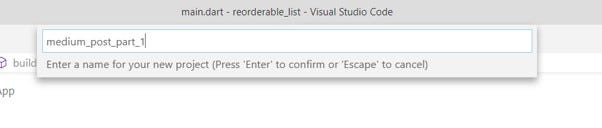
In VS Code press Ctrl + Shift + P and you’ll see a drop appear.

Select new flutter project and give it an understandable name.
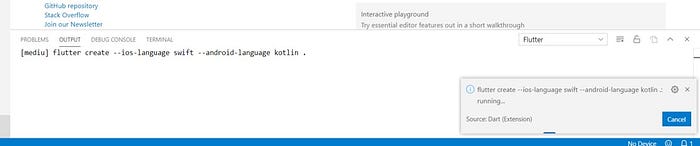
Let VS code do it’s magic and setup everything.
Oh and also, during debug and run, you’ll to install an emulator, which is like a dummy phone app on your system on which you would run all your apps and make your laptop cooling pad go crazy!
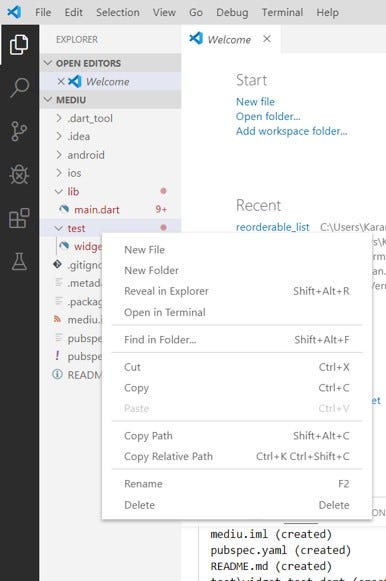
Now when you have everything setup, go ahead and delete the test folder and also delete all code in the main.dart file, we’re going to write our own stuff here.
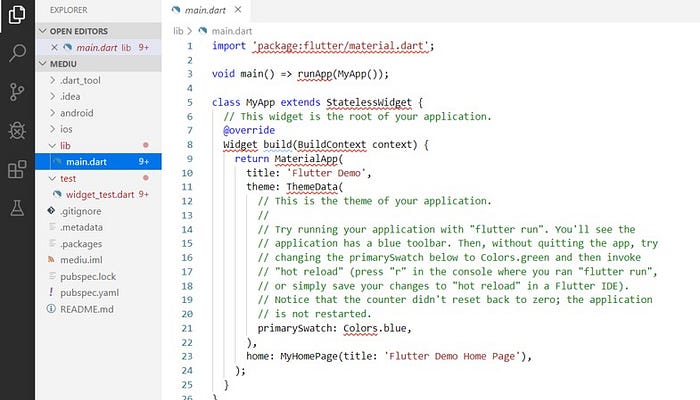
Put useful code in main.dart file
Dart uses the main function as the entry point, and once you are inside it, you need to use runApp() function which itself calls the MaterialApp() class constructor.
void main(){
    runApp(MaterialApp(
          title: "Todo App with Re-orderable Lists & Swipe Cards",
          home: App(),
     ));}
Now what does this mean? It means, if we were talking to the compiler : “when the main program starts, please run my material design widget whose name is App() and whose title is “Todo App with…””.
Let’s define this widget…which is basically a class / a container / a program box / call it whatever you want, but it’s a dumping ground for all code.
class App extends StatelessWidget{
}
So at this point, there are two things you should understand:
- The App() that you are trying to make is a statelessWidget
- Don’t worry about what a StatelessWidget is at this point.
So, it looks like an empty class which does nothing at this point, and it won’t even display anything, because it won’t run.
So we add some more code:
class App extends StatelessWidget{

    Widget build(BuildContext context){
    }}
We used the @ override keyword to tell the program to use our class’s Widget, and not the super class’s (StatelessWidget) Widget. But that’s all I know. so moving on…
Next line talks about Widget build, which actually makes or creates the App in the user interface. All widgets needs a build method, as the name suggests, this method does the heavy lifting of making the UI changes of your app on the screen. Widgets are uniquely linked with something called elements and have a 1 — to — 1 relationship, you can know more about this from the flutter’s YouTube channel.
The BuildContext class is what holds the Widget’s spirit, so you’ll see in later examples, but we’ll just put it there, and let this flow.
What are we coding here?
We’re trying to make a half baked list which can be reordered. This list is what will hold our Todos in the end. If you notice the GIF in the starting, we’re able to move them up and down using the re-orderable list.
Moving on…let’s add a bar on top of the app, this is done by using a …guess…Widget! And this Widget is called a Scaffold.
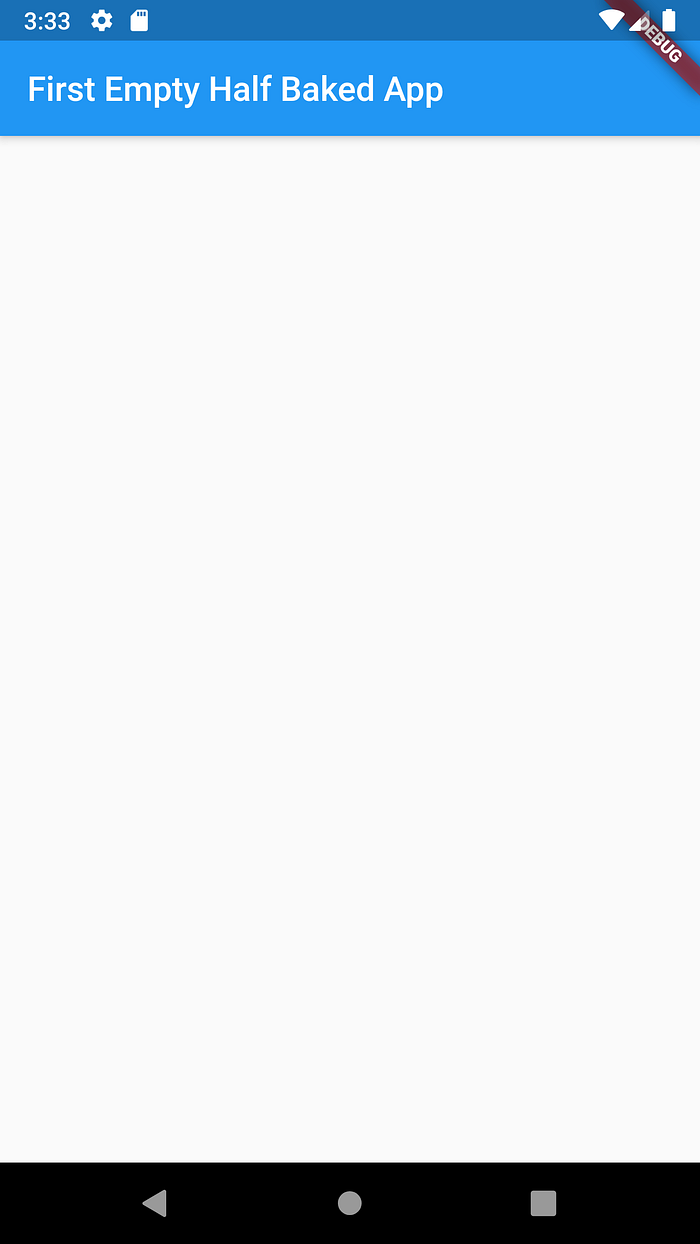
class App extends StatelessWidget{ Widget build(BuildContext context){ return Scaffold( appBar: AppBar( title: Text("First Empty Half Baked App"), ), ); }}
So we’re asking our Widget build method to inflate a Scaffold Widget into the screen (think of it as a balloon filling up a whole room). It’s used as a primary Widget which hold all other widgets inside it, you’ll see soon.
- Scaffold takes in several arguments, one of them being appBar, which is really the title bar you have on the top of lots of applications.
- What do you think we should assign to an appBar? Guess again…
- A Widget! The Laddie wants a Widget! So we give it one…and it’s name is, no prizes for guessing…AppBar() ! Ha!
- AppBar() itself needs some arguments, one of them being title.
- Title is the text you display on top of the app in a colored bar.
- And then…to do that, we assign it, LO AND BEHOLD! Another Widget! OMG! Wat?
- This Widget is a Text() Widget, don’t worry, no more nesting, we just put the text in quotes.
- Look how easily we got here…
Use F5 to run the app, and you will see the following popup, if you have not created an emulator, create one now to compile and run.
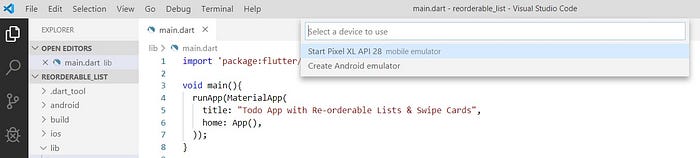
The IDE will take sometime to build the app and display the emulator, so you can take a break and come back after a break ;-). And you should see this:
Let’s add a BODY to that face…
So the next part, as you see in the image, is the body of the scaffold, we added the appbar already. The body again is like a playing area for manipulating programmable objects, lets add a list there, after all our todo app will be made out of textual todos.
class App extends StatelessWidget{    Widget build(BuildContext context){        return Scaffold(            appBar: AppBar(                title: Text("First Empty Half Baked App"),),
            body: ReorderableListView(
            ),        );    }}
For this body to have something to display, we’ll initialize a list of strings. after the main program.
List<String> items = ["Item 1", "Item 2", "Item 3"];So these strings would be displayed by the re-orderable list, which we will cover now.
If you hover your pointer over ReorderableListView(), you’ll see what it needs to run, one of the things it needs is a list of children and a OnReorder function. So let’s fill the children first:
body: ReorderableListView( children: <Widget>[ for(final value in items) Text( value, key: Key(value), ) ],),
Children
You see, we created a For-In loop which loops over the string list we defined earlier. It takes the string from the list and embeds that into a TEXT WIDGET, which we used in the appBar to make our header.
The line children : <Widget> [] means we need to add Widget type children to the re-orderable list view.
As you see, Text() widget takes in one required parameter, which is the text, and here we pass the value from the loop as the string for it.
The second thing you notice is Key, which is like a unique identifier, this is not something required by Text, but required by ReorderableListView. It requires all it’s children to have a key.
OnReorder
This is something we will check in the posts later, so we just make it as a dummy function. Doing this will prevent us from getting into errors and help us run our app, since we cannot leave it missing.
onReorder: (OldIndex, NewIndex){},
TADA!

That text looks very small, let’s make it larger…by adding a few lines in the Text widget. Text widget, you can use CTRL + space to see, style parameter.
We assign a textstyle class to it, as follows:
style: TextStyle( fontSize: 22.0),
And here is the result…
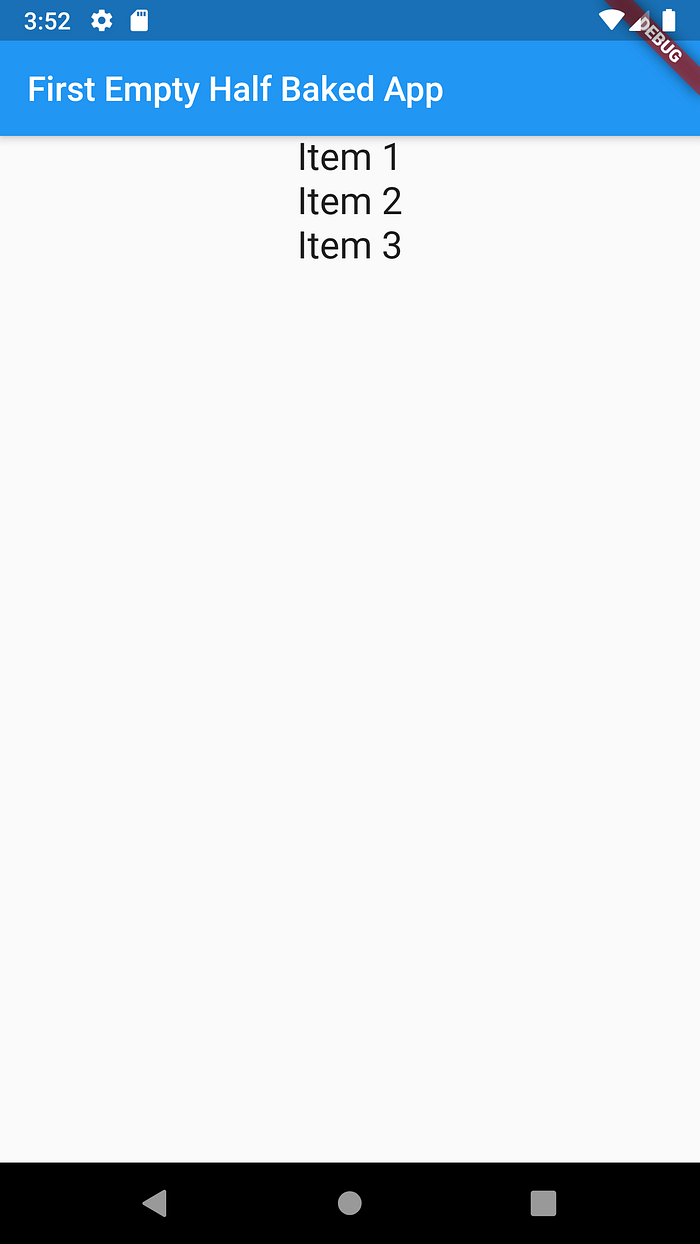
Dumb Re-orderable List
So try and hold down any of the items to move them up and down and notice what they do. Not a lot, they move, but don’t stick to the new position, I think you might have an idea why that does not happen !
We’ll discuss states and how to make them stick to a new position in the next post. Until then enjoy.
Link to Part 2.
Check out WIDGET OF THE DAY post by google to understand more.
